Dynamic DNS
To be able to access your home network devices remotely, you need to know the public IP of your network. This is given by your ISP and changes dynamically.
In this section, we will create a DNS alias that will map a given hostname to your up-to-date public IP. To this end, we will use NOW-DNS.
Create DNS for your public IP
Go to NOW-DNS and register.
Go to Manage Hostnames in the left navigation bar.
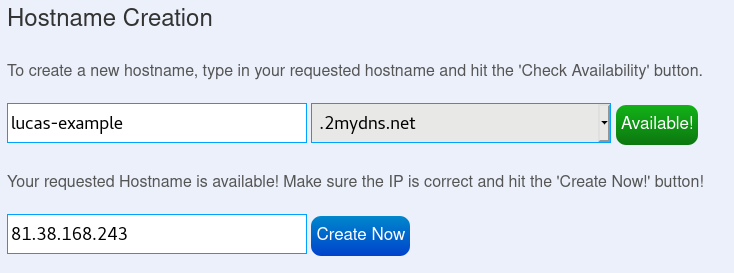
Create your hostname. First, you need to click on Check Availability, next it will ask you for your public IP. Note that NOW-DNS will auto-fill it, however, you easily check your IP here.

Once created, your hostname will appear on the DNS table.

Dynamically update the hostname
As aforementioned, public IPs are dynamic, which means that they change from time to time (e.g. router reboot). Getting track of these changes is unfeasible, even more when you are abroad (as you would need to access your home network which in turn requires you to previously know the current public IP).
To solve this, we simply create a script that updates the NOW-DNS hostname (using NOW-DNS API) and place it as a crone task on the raspberry.
Create file with credentials
First, create a file called /home/pi/crons/now-dns/credentials with your NOW-DNS details using the following structure:
After creating, modify the permissions so only you have access
Automate hostname updates
To do this, we will create a local script, which runs periodically (using crontab). First, we create a script file.
Next, we add script execution to crontab. In our configuration, we set an every-5-minute execution.
You can check the logs of crontab by running
Last updated